
Pumpkin made with a recycled Butter container
- fatimamholland

- Aug 18, 2025
- 3 min read

Here’s another fun and easy project you just have to create this Fall season!😀🎃🍁
You don’t really need a lot of items to create this little Pumpkin cutie!
Recycle a Butter container any size you choose!
I absolutely love being able to create something special with leftover items and bring them back to life as something totally different and simply beautiful like this super cute light up pumpkin!
I’m sure you have all you need on hand so let’s create this cutie!
Supplies You’ll Need:
Empty Butter container (any size)
Hot glue
Paint I used Orange and Brunt Umber or Brown
I used acrylic paint on this project but as usual you can use chalk paint if you prefer!
Clear spray sealer
Clear Elmer’s glue
Dried pumpkin stems or Wooden finial or what ever you want to use for the stem
Cinnamon
Hot knife burning tool or Exacto knife you can even use a wood burning tool

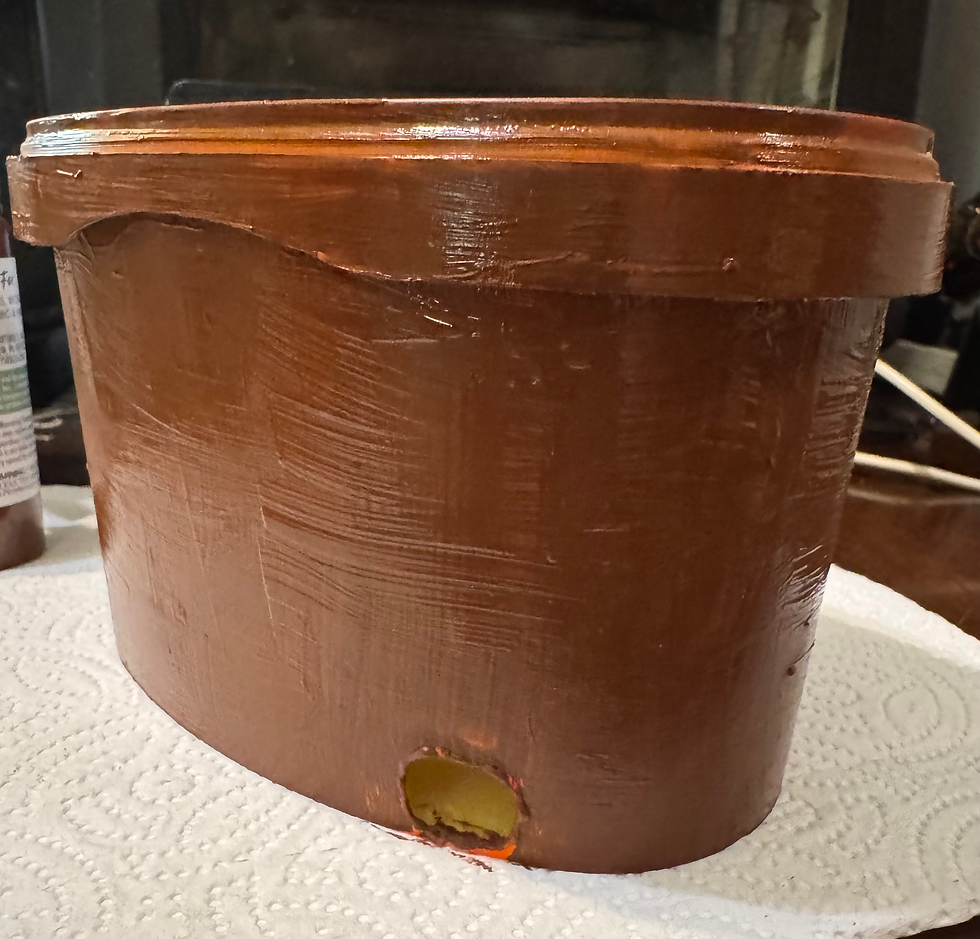
This is the Butter container I chose to recycle!

I drew the face on it with a Sharpie!

I then used my plastic cutting tool to cut the face out.
You can use an Exacto Knife but be very careful if you use that.
I’ll drop a link for the Cutting tool I used.

I also cut a small hole in the back so I can run twinkle light through it.

I first gave my container a coat of orange.

Once it dried I gave it a coat of Brown . I wanted to make sure the wording from the container didn’t show through.

The orange also gives it a little glow once the twinkle lights are on ! I love that .
Once it was all dry I started adding my clear glue and sprinkling the cinnamon!
You can also use clear adhesive spray if you choose to just work in sections.

I like putting my cinnamon in a large shaker it makes it easier to apply .

I started at the top .

Once it was done a gave it a spray of Clear finish spray .

I had this dried pumpkin stem in my stash! Perfect!

I love drying pumpkin stems this was one I dried from last year . Remember to remove your stems from your real pumpkins once you are done with them this Fall season and let them dry they always come in handy for these types of projects!

I added a little moss to the top. I dropped a link for it at the end of this blog.

Choose your Fall sprigs! Pretty much these were all things I had on hand from previous projects!

Create your arrangement on top which ever way you like !
So cute!

I love how this little cutie looks on my counter!

Here he is ! 😀❤️🎃
This Pumpkin made with a recycled Butter container is just so adorable!
This is such a fun way to add handmade charm to your decor!
I’m always so excited to share these creative, budget-friendly ideas with you. I hope you give this project a try and create several of these for your Fall decorations! 🎃🍁
You will never look at Butter containers the same again!
What a beautiful way to decorate and still be on track budget wise!
Recycling is always a fun way to save and create beautiful things!
You don’t have to spend a lot to have fun beautiful items to add to your decorating this season!
It all starts just by using a little imagination and a few supplies!
A recycled Butter container a little paint and a few Fall sprigs and look what you can create!
I’m always trying to create adorable budget friendly projects and this one is another perfect DIY for you to create this Fall season!
Please make sure you are following us on Facebook for daily inspiration , recipes and crafting ideas!
You can also check us out on YouTube
Moss
Wooden Finials
Similar
Hot knife burning tool
Exacto Knife
Clear adhesive spray
Clear matte sealer
Assorted artificial Fall sprigs


Comments