
Sheep made with recycled cans!
- fatimamholland

- Apr 2
- 3 min read

🐑 Budget-Friendly Recycled can made into an adorable Lamb!
If you love creating beautiful things without spending a fortune, you are going to adore this little project!
This adorable lamb was made with a recycled can and a few more items you probably have on hand!
Yes! I love creating with simple, inexpensive items and turning them into something cute and creative.
These are perfect to enjoy year round!
This is so simple, and just plain sweet!
What You’ll Need
A empty can any size you choose
Fuzzy material
Black felt
Scissors
Hot glue
Your choice of embellishments
Sticks for legs
Black paint I used acrylic but chalk paint will be just as good.
Something for the face I used a large cap from an acorn

Ok let’s get started !
These are the items I used for mine .

I actually used 4 paint brushes that I didn’t like using for painting and cut them for legs !
You can use twigs or thin dowels for this too.
I drilled 4 holes where the legs were going .

I glued the legs on .
I didn’t worry about removing the label since it was going to be covered .

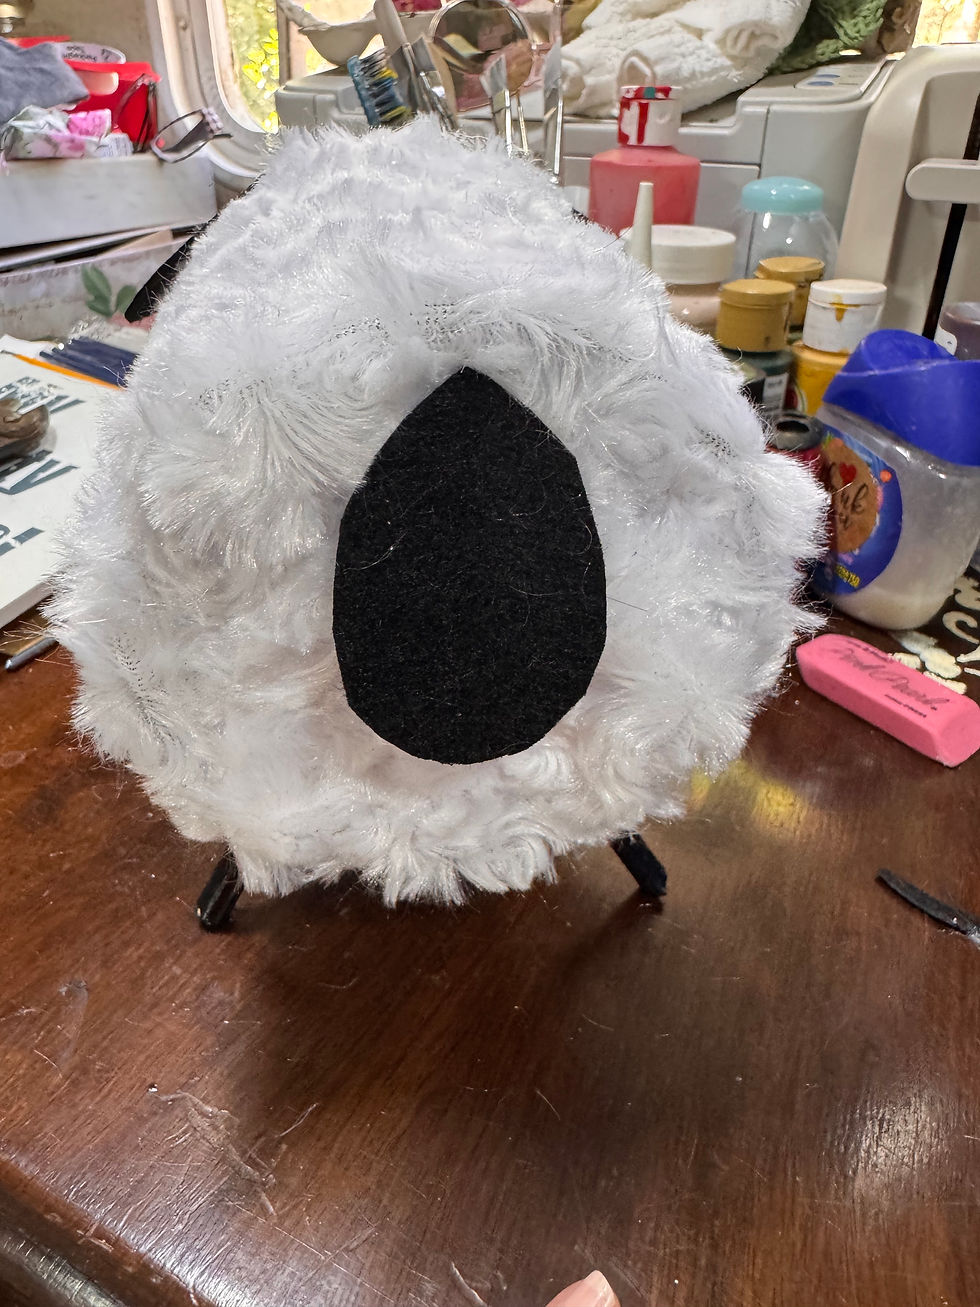
I then took my fuzzy material and started covering my can.

I covered it all the way around.

I then cut a piece of cardboard to cover the opening.

I covered it also with my material.

I then glued it on the opening.

You can do this step before you glue the legs on but I didn’t.
Paint your legs black.

Then I took a narrow piece of material and covered the top part of each leg.

They now should look like this .

I used the cap of a very large acorn for the face and I painted it black .
I get these super large acorns every time I go visit my grandbabies in Fort Worth!
Sometimes they already have a little collection started for me ! 😀❤️
You can use a half of a plastic Easter egg, or a half of a styrofoam ball for this step too.

Look how adorable it’s looking!

I then cut a narrow piece of material to go around the area that the acorn cap and the body meet to make it look complete.
I hot glued it on.

I just love it!

I cut 2 ears and a tail from a piece of black felt.

I just eyeballed the shape.
Here’s the tail.

I then started embellishing the neck area.

Use whatever you want !
I also attached this adorable bell!

I gave mine a little grunge to it but you don’t have to do this step totally up to you!

That’s it ! I just love these cuties so beautiful!
💛 Why I know you will Love This Project
It uses inexpensive supplies
It’s beginner-friendly
It works up quickly
And you know me I’m always looking for ways to create something beautiful without breaking the bank.
Simple. Sweet. Creative.
Just the way we like it. 💕
If you make some, I’d love to see yours!
Fatima ❤️✨
Please make sure you are following us on Facebook for daily inspiration , recipes and crafting ideas!
You can also check us out on YouTube
Bells I used
Similar material I used


Comments